Fans of PVC pipe know that once a PVC joint is cemented together, it is impossible to take apart without destroying the pieces. Until now. The formula is simple:
PVC + Polycaprolactone = Awesome
Poly-capro-what you say? You can read More about Polycaprolactone aka PCL here. The awesomeness of PCL is well documented by Make Magazine in their article The Many Uses of Shapelock, but I have discovered one important use that they missed!
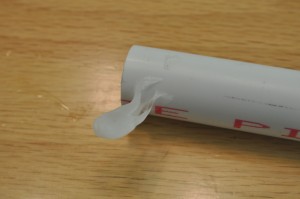
While trying to use a bit of PVC as a mold for PCL, I was quite displeased to discover that the PCL instantly bonded to the PVC like pine sap on glass. The PCL stayed pliable, and could be scraped off with great effort, but it really, really wanted to stay put on the PVC. And once cooled and hardened, the two couldn’t be separated at all, even with pliers, screwdriver or hammer.
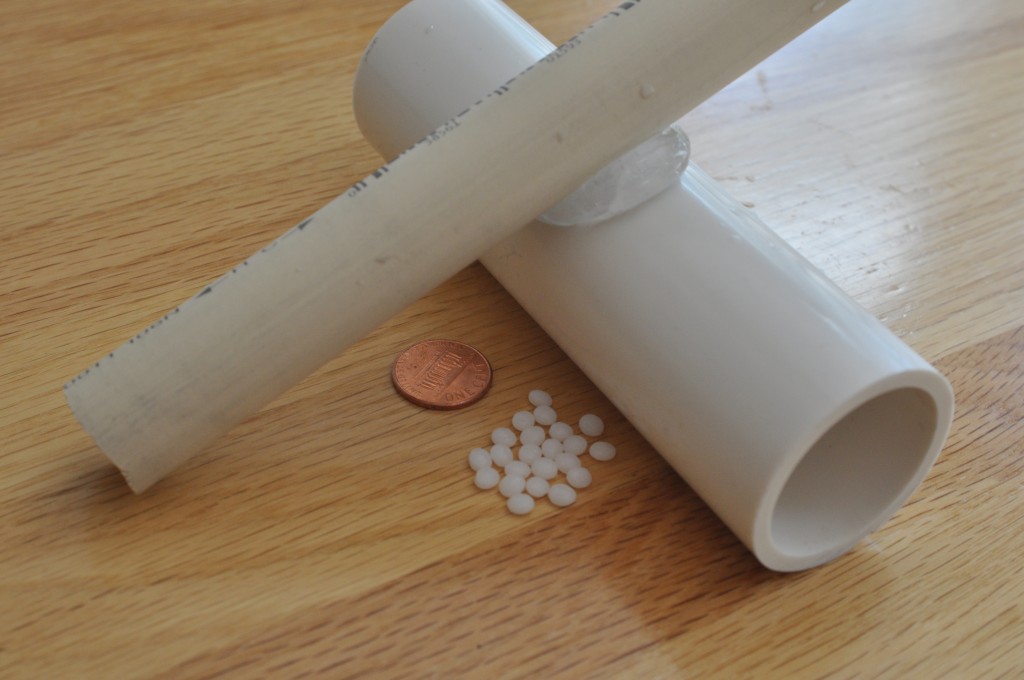
My displeasure at the failed experiment was short lived when I realized the many implications of this happy accident, which I summarize with a simple photograph.
As you can see, the putty like nature of the PCL combined with its adhesion to PVC allows for some very non-standard joints. I also found, as you can see below, that it works very well on traditional joints that need to be strong, yet not permanent.
Recipe for making reversible, semi-permanent PVC glue joints
0) Acquire Polycaprolactone. List of places to buy
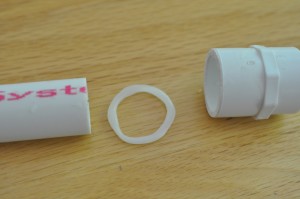
1) Heat beads of PCL in very hot water until clear and putty-like, then form into an O-ring like shape
2) Stick the o-ring onto the male side of the joint. Pre-warming the PVC with very hot water will ensure a good bond and keep the PCL from cooling too quickly.
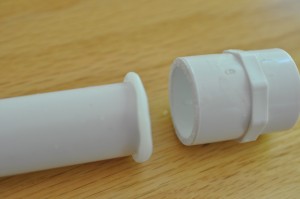
The PCL O-Ring has been attached to the male side of the joint. When pressed together, some will be forced into the gap, and the excess will squeeze out.
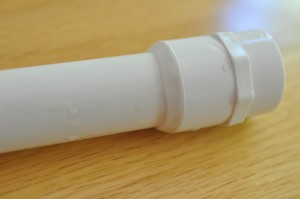
3) Press the fittings together and wait for the PCL to cool
Once cool, the result is nearly as strong as a cemented joint. For extra strength, you can CAREFULLY pour near-boiling water over the entire assembly after the joint is pressed together to ensure a good bond.
If you ever need to take the joint apart, (gently!) heat the joint under hot water and pull the fitting apart.
Some thoughts on safety
Although this should go without saying, I’ll say it anyway:
– be careful around hot water
– heating plastic with a heat gun or hair dryer is a bad idea due to fire risk
– joints formed with this technique are neither suitable nor advisable for any plumbing application
– joints formed with this technique may unintentionally come apart if heated (duh)
Have fun and be safe!
Pingback: More about Polycaprolactone | Bill Waters
Pingback: A modular, all-PVC pneumatic actuator | Bill Waters
Pingback: MAKE | Use ShapeLock for Semi-Permanent PVC Glue Joints and Fittings
Pingback: knoptop.com - Semi-permanent PVC glue
The only thing to be cautious about is that PVC tubing is often used for hot water, which quickly loosens the joint! But for tacking pipes together pending permanent cementing, this is unrivalled.
You would need to be very careful if you plan on cementing a fitting after tacking it in this way — I strongly suspect that any residual PCL would interfere with the cement’s bond. I suppose it could work, though, if the PCL is applied after the joint is assembled, leaving the mating surfaces completely clean.
I bet this could be used to mend holes in PCV that you don’t want anymore. Or if you drilled them in the incorrect spot. I could so have used this when I made a drip-line distribution system on the last greenhouse I built… As it was it was filled in with beads of silicone which took AGES to cure.
I have tried exactly that, and it works great for plugging holes of any size — even end plugs.
This would have been a good alternative to epoxy when we made PVC blow guns over the weekend.
http://randomfort.blogspot.com/2012/07/weekend-project-pvc-blow-gun.html
I’ll add a comment to that effect when I get home from work. I think shape lock is potentially safer than epoxy in this case as it isn’t permanent on humans.